Showa 4.2 Type 14 Photos (
This 4.2 dated pistol is one I
imported from the

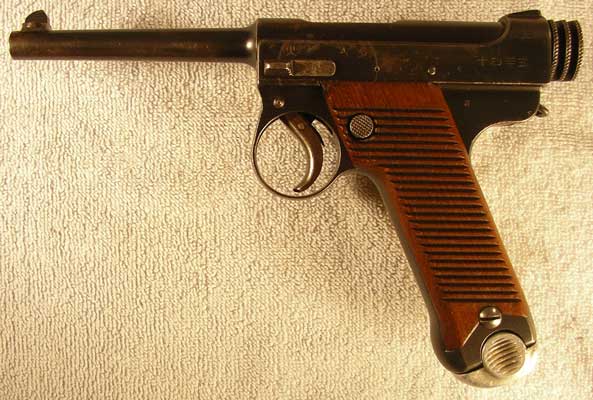
As you can see here, the left side
is rather worse than the right. This is pretty common as the left side is the
one that is up against the holster and the body, so sweat can keep the leather
damp and cause corrosion.
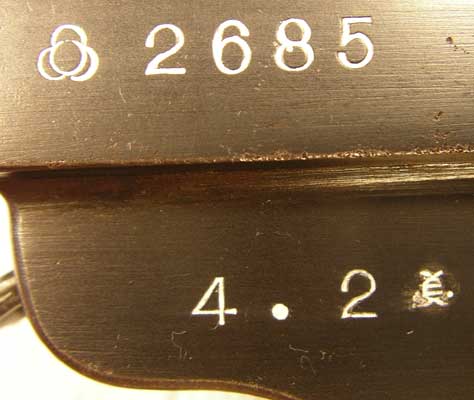
The cloverleaf-like mark in the top
row identifies the
pistol as a product of the Tokyo Arsenal. It represents a stack of four cannonballs
viewed from the top. The same symbol was used by the Kokura Arsenal because it
was supposed to take over from
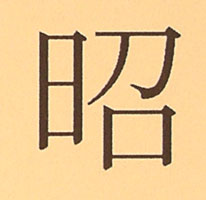
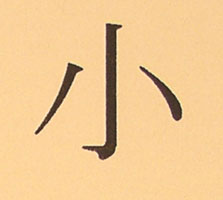
The character sho referred to above is this character. It is the first part of Showa, the name of Emperor Hirohito’s
reign. If you look at any of the later guns on this site you will see it in
front of the date, but it is not on this gun.
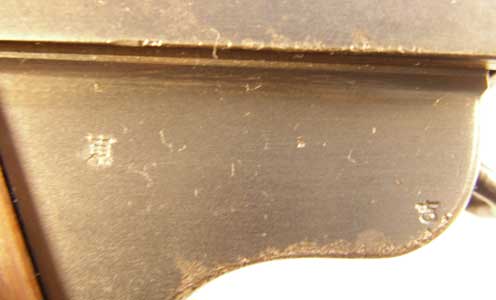
The inspection mark to the right of
the 2 above is hard to make out because there is some pitting around it. Here
is a drawing of what it should look like.
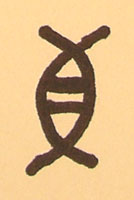
That symbol seems to be a stylized
kanji. I am not sure which one, but my guess is it is probably me, meaning “eye”. Here is what the
standard printed version of that character looks like.

A big part of the answer
to the “
Let’s look at the C position first.
This is key to where the gun was assembled. All Kokura-assembled guns have the
katakana symbol se in this position;
Tokyo-assembled guns have a variety of other symbols (mostly stylized kanji)
depending on the year (katakana are Japanese phonetic symbols; kanji are the
often more complicated Chinese characters). In this case the symbol is a
stylized kanji yoshi, indicating
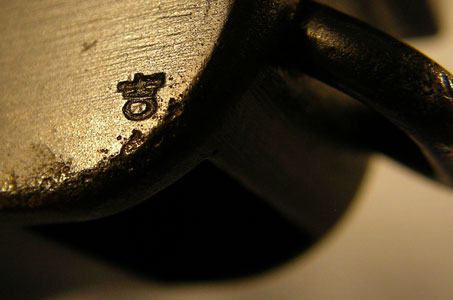
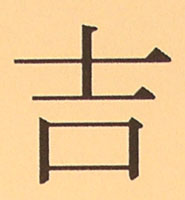
This is what the normal version of
the character yoshi looks like. In
the stylized version on the gun they have just used an oval on the bottom
rather than a rectangle.
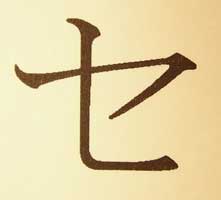
The katakana se used in the C position on Kokura guns looks like this (in other
words, a Kokura gun would have this mark instead of the yoshi):
The character ko as in Kokura appears on the right
side of many of the Kokura guns to the right of the date (at least one other
character was also used). It would be where the stylized kanji me is on this gun, and looks like this:
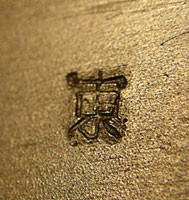
Here is the character on the left,
the one in the B position. It is the character higashi, meaning “east”. It is also pronounced to as in
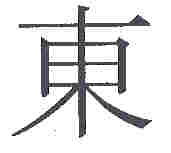
Here is the printed version of the
character higashi/to.
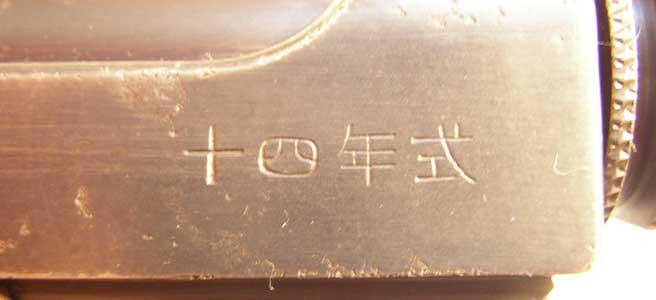
This is the model marking on the
left rear of the frame: ju-yon-nen-shiki,
or “Year 14 Type”. This is a reference to the year the design was finalized
(Taisho 14, or 1925; production didn’t begin until late 1926). Note that the
markings are more lightly stamped than on later guns. Comparing the fonts
across arsenals also shows slightly different styles of characters. For
example, the second character from the left is yon, meaning “four”. The one on Toriimatsu guns has corners that
are much squared off rather than rounded.
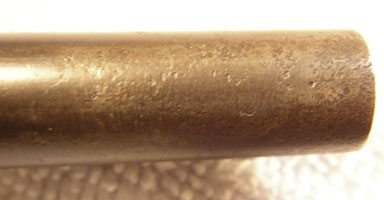
This
is the bottom of the tip of the barrel. It is a common place for pitting to
occur on Type 14s, as was certainly the case here. The reason is simple: there
are two leather blocks inside the holster to separate the gun from the spare
magazine. One is at the bottom of the
holster, where the lower edge of the last inch or so of the barrel rests on it.
The other block is part way up the barrel. When the holster gets wet, these
leather blocks hold the dampness against the barrel and voila, pitting!
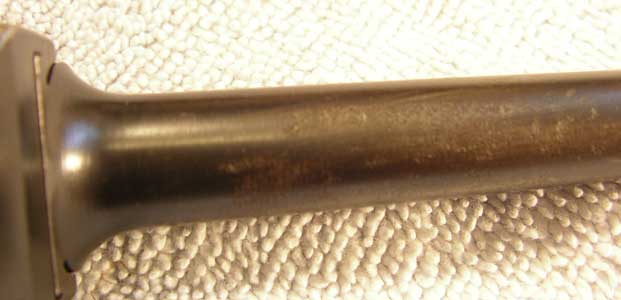
Here you can see the mid-barrel spot where the
same thing happened. Again, this is not what you expect to find when you buy a
gun that is supposed to be 95%+!
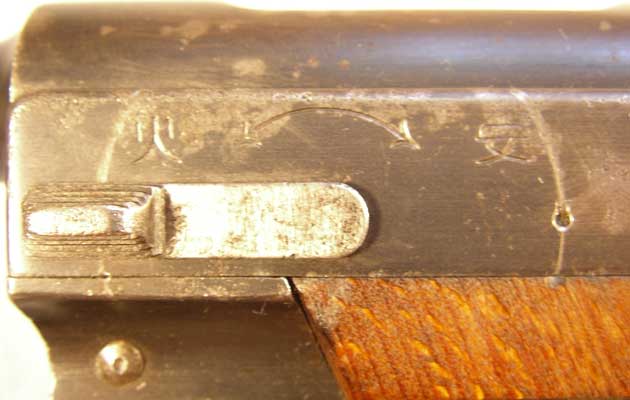
Here is a close-up of the left side.
95%???!!! The lever is the safety. Forward (left in the photo) is fire,
rearward (right in photo) is safe. The safety always scribes an arc in the
bluing. The two characters are literally “fire” (left) and “safe” (right).
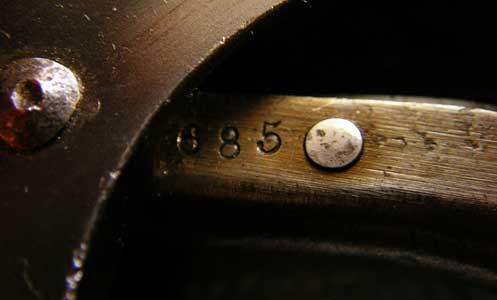
The trigger still shows some
strawing (golden colour from heat treating). You can see that it also bears the
last three digits of the gun’s serial number. Although exact practices varied
slightly across arsenals and over time, most parts in a Type 14 are numbered.
Interchangeability is not always perfect.
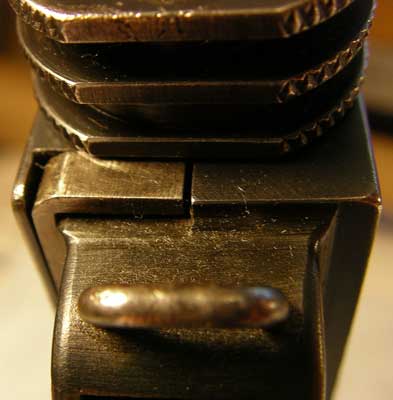
Here you can see that the sear bar (upside-down
L-shaped piece on the left) is also unblued on
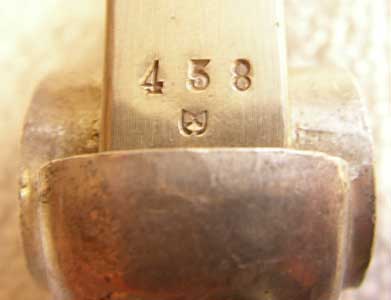
The magazine’s serial number, found at
the bottom of the back edge, does not match the gun (the number should be the
same as the last three digits of the serial number). The symbol below it is an
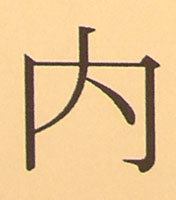
inspection marking. It is a stylized version of the character uchi, meaning within (also pronounced nai). It is thought that this was
probably the first syllable of the inspector’s family name.
This is what the standard printed version of
the character uchi looks like:
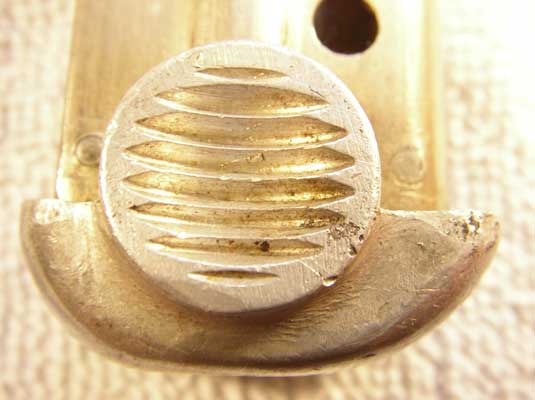
The magazine base is aluminum. Note
what a clean, silver colour it is. The later magazines had pot metal bases and
have a much greyer appearance.
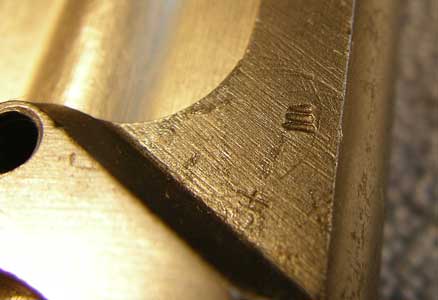
The left side of the grip frame also
has inspection markings. The forward left side has this symbol, the kanji for
three (san, also pronounced mi).
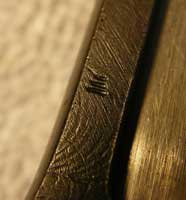
The same symbol is on the left rear edge of the
grip frame (both these marks would normally be covered by the grips).
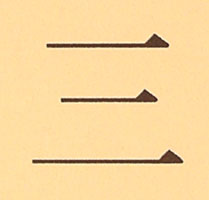
This is the standard printed version of that
character.
The right grip number, 942, doesn’t match the gun.
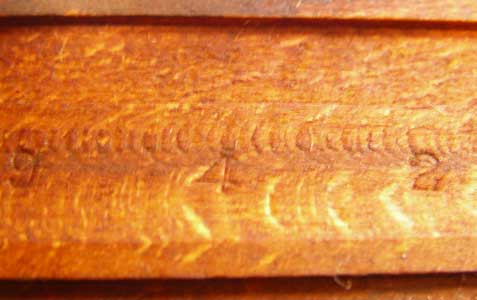
However, to the left of the number you can see
the inspection mark yoshi ever so
faintly, so it is from a Tokyo Arsenal gun.
The left grip panel has the correct number,
685, marked in pencil and also stamped into the wood. Normally one or the other
method was used, not both.
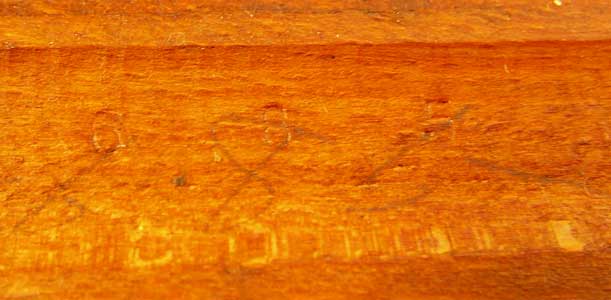
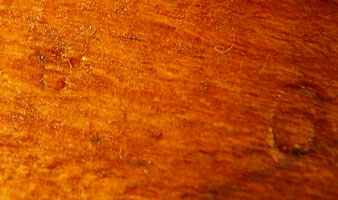
This close-up shows the yoshi inspection mark somewhat more clearly. It is located to the
upper left of the digit 6.
The
recall I mentioned above involved fitting a shorter striker in an attempt to
reduce misfires (the spring would move the shorter, lighter striker faster). In
order to fit the shorter striker, they needed to lengthen the slot in the
bottom of the bolt in which the tail of the striker travels in order to allow
the striker tip to go through the hole in the bolt face and reach the primer.
The slot I am referring starts at the right of this photo. The striker tail is
the little downward-pointing piece on the right end of the striker. Both bolt
and striker are shown with the rear towards the right.
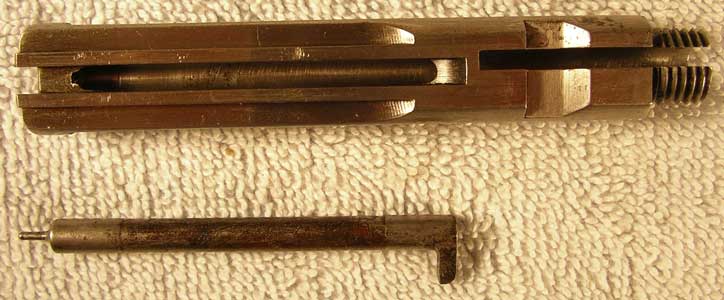
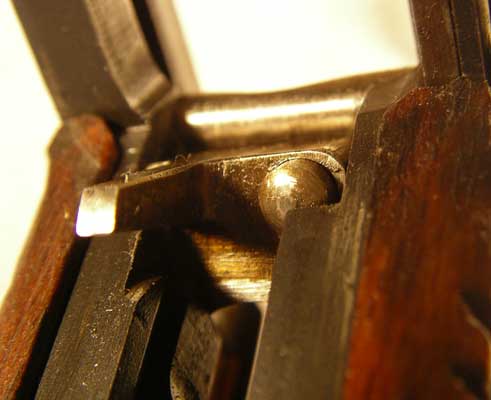
The
other main thing that was done was to retrofit a magazine safety. This is the
piece shown with the tail sticking out towards the left. The little round thing
on the right is a plunger, which has a compressed spring behind it. If you ever
remove the magazine safety, be careful!
That little plunger is under extreme spring pressure. If it hit you in the eye
it could cause serious injury. Even if it misses you, the tiny little plunger
has a way of shooting off into the nearest black hole and disappearing. Many
guns are missing this part. Apparently the Japanese troops to whom the early
pistols were issued couldn’t understand that removing the magazine did not
fully unload the gun if there was round in the chamber and there were mishaps
when cleaning them. Hence the recall.
Click here to go back to the Type 14 Photo
Gallery: Teri's Japanese Handgun
Website: Type 14 Photo Gallery
Click here to go back to the main page: Teri’s Japanese Handgun Website
Last updated: May 18, 2005. All contents are copyright Teri unless otherwise specified and may not
be used elsewhere in any form without prior permission.